In the previous lecture, we saw how to install Docker and dockerize an app. In this lecture, we will see how to create and work with Docker images.
Pre-requisites:
Make sure that docker is installed and functional:
docker info
which should list information similar to the one below:
Containers: 41
 Running: 0
 Paused: 0
 Stopped: 41
Images: 47
Server Version: 17.03.1-ce
Storage Driver: aufs
 Root Dir: /var/lib/docker/aufs
 Backing Filesystem: extfs
 Dirs: 132
 Dirperm1 Supported: true
Logging Driver: json-file
Cgroup Driver: cgroupfs
. . .
. . .
Username: kalharbi
Registry: https://index.docker.io/v1/
Experimental: true
Insecure Registries:
 127.0.0.0/8
Live Restore Enabled: false
Finding Docker images
- We can list all available images using the command
docker search.
docker search httpd
NAME                                    DESCRIPTION                                     STARS               OFFICIAL            AUTOMATED
httpd                                   The Apache HTTP Server Project                  2195                [OK]
hypriot/rpi-busybox-httpd               Raspberry Pi compatible Docker Image with a …   45
centos/httpd                                                                            21                                      [OK]
- We can also visit the website of the Docker Hub registry tand search for images.
Pulling images
- We can download images hosted on the Docker Hub using the command
docker pull image_name:tag_name. By default, if we do not specify the tag name, Docker will download the latest tag.
$ docker pull nginx
Using default tag: latest
latest: Pulling from library/nginx
a5a6f2f73cd8: Already exists
1ba02017c4b2: Pull complete
33b176c904de: Pull complete
Digest: sha256:5d32f60db294b5deb55d078cd4feb410ad88e6fe77500c87d3970eca97f54dba
Status: Downloaded newer image for nginx:latest
- When we run a container from an image with the docker run command, if the image is not available locally on the host then Docker will download it from docker hub (using docker pull).
Listing Docker images
We can list all built images using the command docker images
$ docker images
REPOSITORY                                TAG                 IMAGE ID            CREATED             SIZE
nginx                                     latest              568c4670fa80        2 days ago          109MB
my-web-app                                latest              913cbc0dd0fa        2 days ago          91.8MB
httpd                                     2-alpine            11fc0c2a2dfa        2 weeks ago         91.8MB
openjdk                                   8-jdk-alpine        97bc1352afde        5 weeks ago         103MB
alpine                                    latest              196d12cf6ab1        2 months ago        4.41MB
Showing the history of an image
- We can inspect all the changes that occurred to a docker image using the command
docker history <image_name_or_id. The output will include all the changes that made to the layers that represent the filesystem when the image was built.
$ docker history nginx
IMAGE               CREATED             CREATED BY                                      SIZE                COMMENT
568c4670fa80        2 days ago          /bin/sh -c #(nop)  CMD ["nginx" "-g" "daemon…   0B
<missing>           2 days ago          /bin/sh -c #(nop)  STOPSIGNAL [SIGTERM]         0B
<missing>           2 days ago          /bin/sh -c #(nop)  EXPOSE 80/tcp                0B
<missing>           2 days ago          /bin/sh -c ln -sf /dev/stdout /var/log/nginx…   22B
<missing>           2 days ago          /bin/sh -c set -x  && apt-get update  && apt…   53.8MB
<missing>           2 days ago          /bin/sh -c #(nop)  ENV NJS_VERSION=1.15.7.0.…   0B
<missing>           2 days ago          /bin/sh -c #(nop)  ENV NGINX_VERSION=1.15.7-…   0B
<missing>           2 weeks ago         /bin/sh -c #(nop)  LABEL maintainer=NGINX Do…   0B
<missing>           2 weeks ago         /bin/sh -c #(nop)  CMD ["bash"]                 0B
<missing>           2 weeks ago         /bin/sh -c #(nop) ADD file:dab9baf938799c515…   55.3MB
Building your own images
The recommended way of building images is using the docker build command with a Dockerfile.
The Dockerfile is a definition file that uses a specific set of instructions for building and customizing Docker images.
We will build a docker container that runs Apache httpd web server and changes the content of the default index.html file.
To build an image using a Dockerfile, create a file named Dockerfile and open it in your text editor:
mkdir web-app-in-docker
cd web-app-in-docker
touch index.html
nano index.html
Add the following content to the index.html file.
<!DOCTYPE html>
<html>
   <head>
         <title>Hello Docker Apache httpd</title>
   </head>
   <body>
         <h1>My First Docker container running Apache httpd</h1>
   </body>
</html>
Crate a Dockerfile
touch Dockerfile
nano Dockerfile
Add the following content to the Dockerfile:
FROM alpine:3.8
LABEL maintainer="khalid@example.com"
RUN apk update && apk add apache2 && mkdir -p /run/apache2
RUN echo "ServerName localhost" >> /etc/apache2/httpd.conf
COPY index.html /var/www/localhost/htdocs/index.html
CMD ["httpd", "-D", "FOREGROUND"]
EXPOSE 80
Build the image
docker build -t my-apache-image .Sending build context to Docker daemon 3.072kB Step 1/7 : FROM alpine:3.8 ---> 196d12cf6ab1 Step 2/7 : LABEL maintainer="khalid@example.com" ---> Using cache ---> bff42fd19cf6 Step 3/7 : RUN apk update && apk add apache2 && mkdir -p /run/apache2 ---> Using cache ---> 7c41ae5316f8 Step 4/7 : RUN echo "ServerName localhost" >> /etc/apache2/httpd.conf ---> Running in b6b794eb52fe Removing intermediate container b6b794eb52fe ---> 3a66ec0e626e Step 5/7 : COPY index.html /var/www/localhost/htdocs/index.html ---> c121986176a7 Step 6/7 : CMD ["httpd", "-D", "FOREGROUND"] ---> Running in efeb3b7e577c Removing intermediate container efeb3b7e577c ---> 012eb86f76f9 Step 7/7 : EXPOSE 80 ---> Running in 6fede68d56e3 Removing intermediate container 6fede68d56e3 ---> a50d38a2f0cd Successfully built a50d38a2f0cd Successfully tagged my-apache-image:latest
Running a container from an image
To run the image we built above, use the
docker runcommand:docker run -p 8080:80 my-apache-imageLet’s see what happened:
We have launched a new container from the image we built, my-apache-image.
The Dockerfile has a command to edit the default apache httpd config file and set localhost as the serverName.
The Dockerfile has a command to copy the
index.htmlto Apache httpd’s root directory.We have specified the command
httpd -D FOREGROUNDfor the container to run inside the Dockerfile as a value for theCMDinstruction.- This will launch apache httpd in the foreground to keep our container running. If we do not specify this option, then apache httpd will run in the background inside the container but Docker will stop the container immediately because there’s no process running in the foreground.
We have also specified the network ports that we want Docker to publish on the container and map to the host port number using the flag
-p HOST_PORT:CONTAINER_PORT.- The flag
-p 8080:80will bind port 80 on the container to port 8080 on the host.
- The flag
We can also bind to a specific network interface. Stop the currently running container using
CTRL-Cand run:docker run -p 127.0.0.1:8080:80 my-apache-image
To list running containers and find information about them, run
docker psCONTAINER ID IMAGE COMMAND CREATED STATUS PORTS NAMES 3e254ac7a1ac my-apache-image "httpd -D FOREGROUND" 4 seconds ago Up 2 seconds 127.0.0.1:8080->80/tcp amazing_pascalWe can see that under the PORTS column Docker is binding port
80on the container to127.0.0.1:8080on the host. Open your browser and go to `http://127.0.0.1:8080. You should see the custom html web page we created: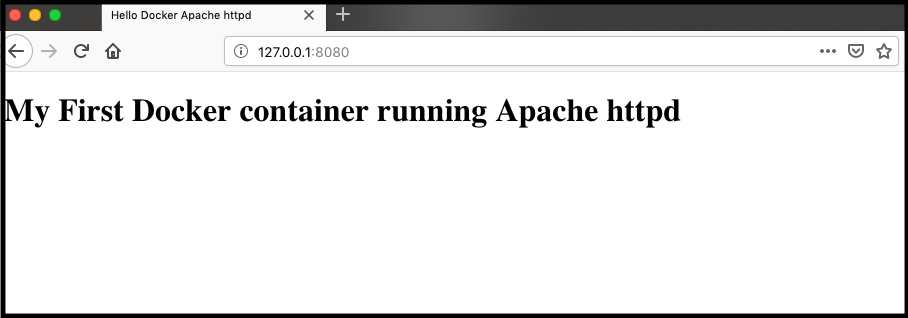
Dockerfile instructions
Please refer to the Dockerfile reference to see all available Dockerfile instructions.
Sharing an image
Docker images can be distributed and shared on a registry such as the Docker Hub.
Create an account on the Docker Hub and verify your email address for the email you receive after signing up.
Sign into the Docker Hub using the docker command:
docker loginLogin with your Docker ID to push and pull images from Docker Hub. If you don't have a Docker ID, head over to https://hub.docker.com to create one. Username: kalharbi Password: Login SucceededWe will create a custom image using a Dockerfile. Our image will use alpine:3.8 as the base image and install apache httpd on it.
FROM alpine:3.8
LABEL maintainer="your-email-address@example.com"
RUN apk update && apk add apache2 && mkdir -p /run/apache2
RUN echo "ServerName localhost" >> /etc/apache2/httpd.conf
CMD ["httpd", "-D", "FOREGROUND"]
EXPOSE 80
Build the image. In order to have a publishable image on Docker Hub, we need to tag the image with our user-name/image-name. Otherwise, we will not be able to push it to Docker Hub because it will be considered a root repository, which is managed by the Docker Inc. team. Build the image and tag it with your user name:
docker build -t kalharbi/alpine-httpd .Use the
docker imagescommand to list the available images on your machine:docker imagesREPOSITORY TAG IMAGE ID CREATED SIZE kalharbi/alpine-httpd latest 3202914b65c5 10 minutes ago 8.97MBPush the image to Docker Hub. We can distribute the image and share it on Docker Hub using the
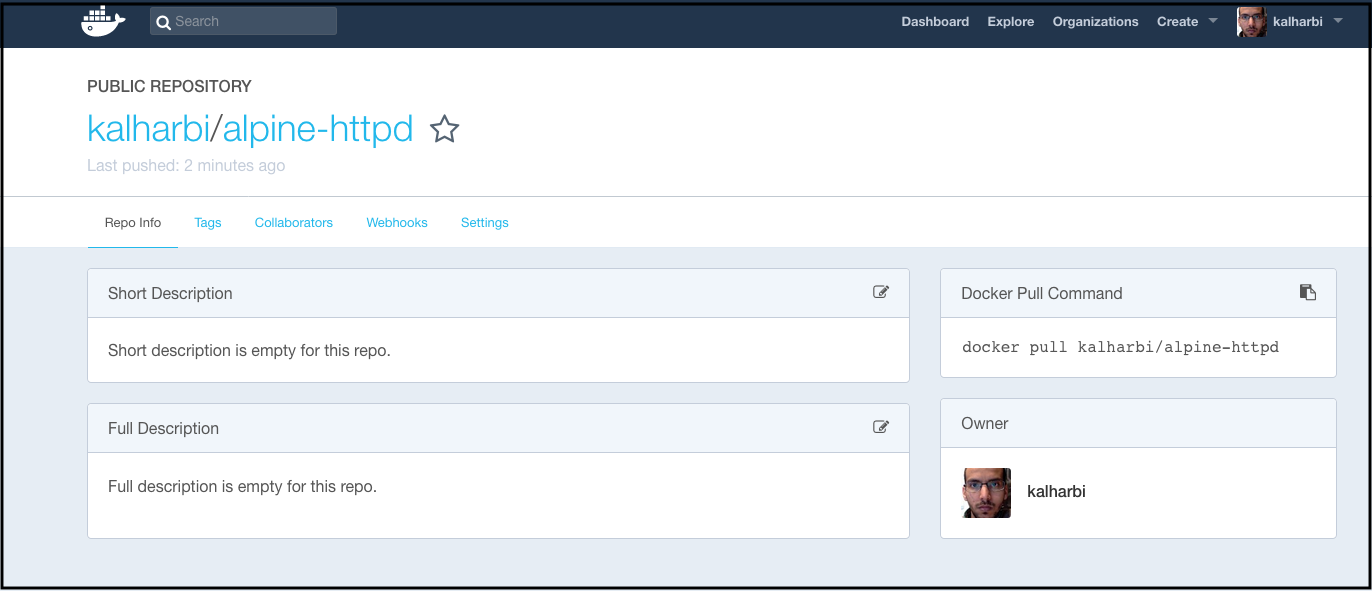
docker pushcommand.docker push kalharbi/alpine-httpdThe push refers to repository [docker.io/kalharbi/alpine-httpd] c184b7dad79d: Pushed 781b9ebdce45: Pushed df64d3292fd6: Mounted from library/alpine latest: digest: sha256:0d8753071f49f745cf208a8597701c40f1db6d5190c59d925203ba9e18d6e565 size: 947We can now see our uploaded image on Docker Hub.
Anyone can pull the image using the command
docker pull kalharbi/alpine-httpd
Deleting an image
You can delete an image using the command
docker rmi <image_name_or_id>:docker rmi my-apache-imageIf the image is being used by a container, then you need to delete the container first using the command
docker rm <container_name_or_id>or to force deleting the image that is being used by a container using the-fflag:docker rmi -f my-apache-image